
Activate a voice number (instant activation)
Some countries do not require a regulatory review before a phone number can take calls. The activation completes in seconds: pick a number, name the inbox, confirm — and you're live.
Live in seconds
No documents to upload, no review queue. The number is yours as soon as you confirm.
No KYC
Account billing details are enough — no separate identity or fiscal documentation.
Same agent setup
Once the number is live, assign a voice-enabled AI agent and you're ready to take calls.
Released anytime
Release the number from Settings whenever you want and pick a different one.
Currently the only country in this category, besides Mexico, is the United States. More will be added over time; these steps apply to any future country with instant activation.
If you need a Mexican number, see Activate a Mexican voice number — those go through a brief legal documentation review.
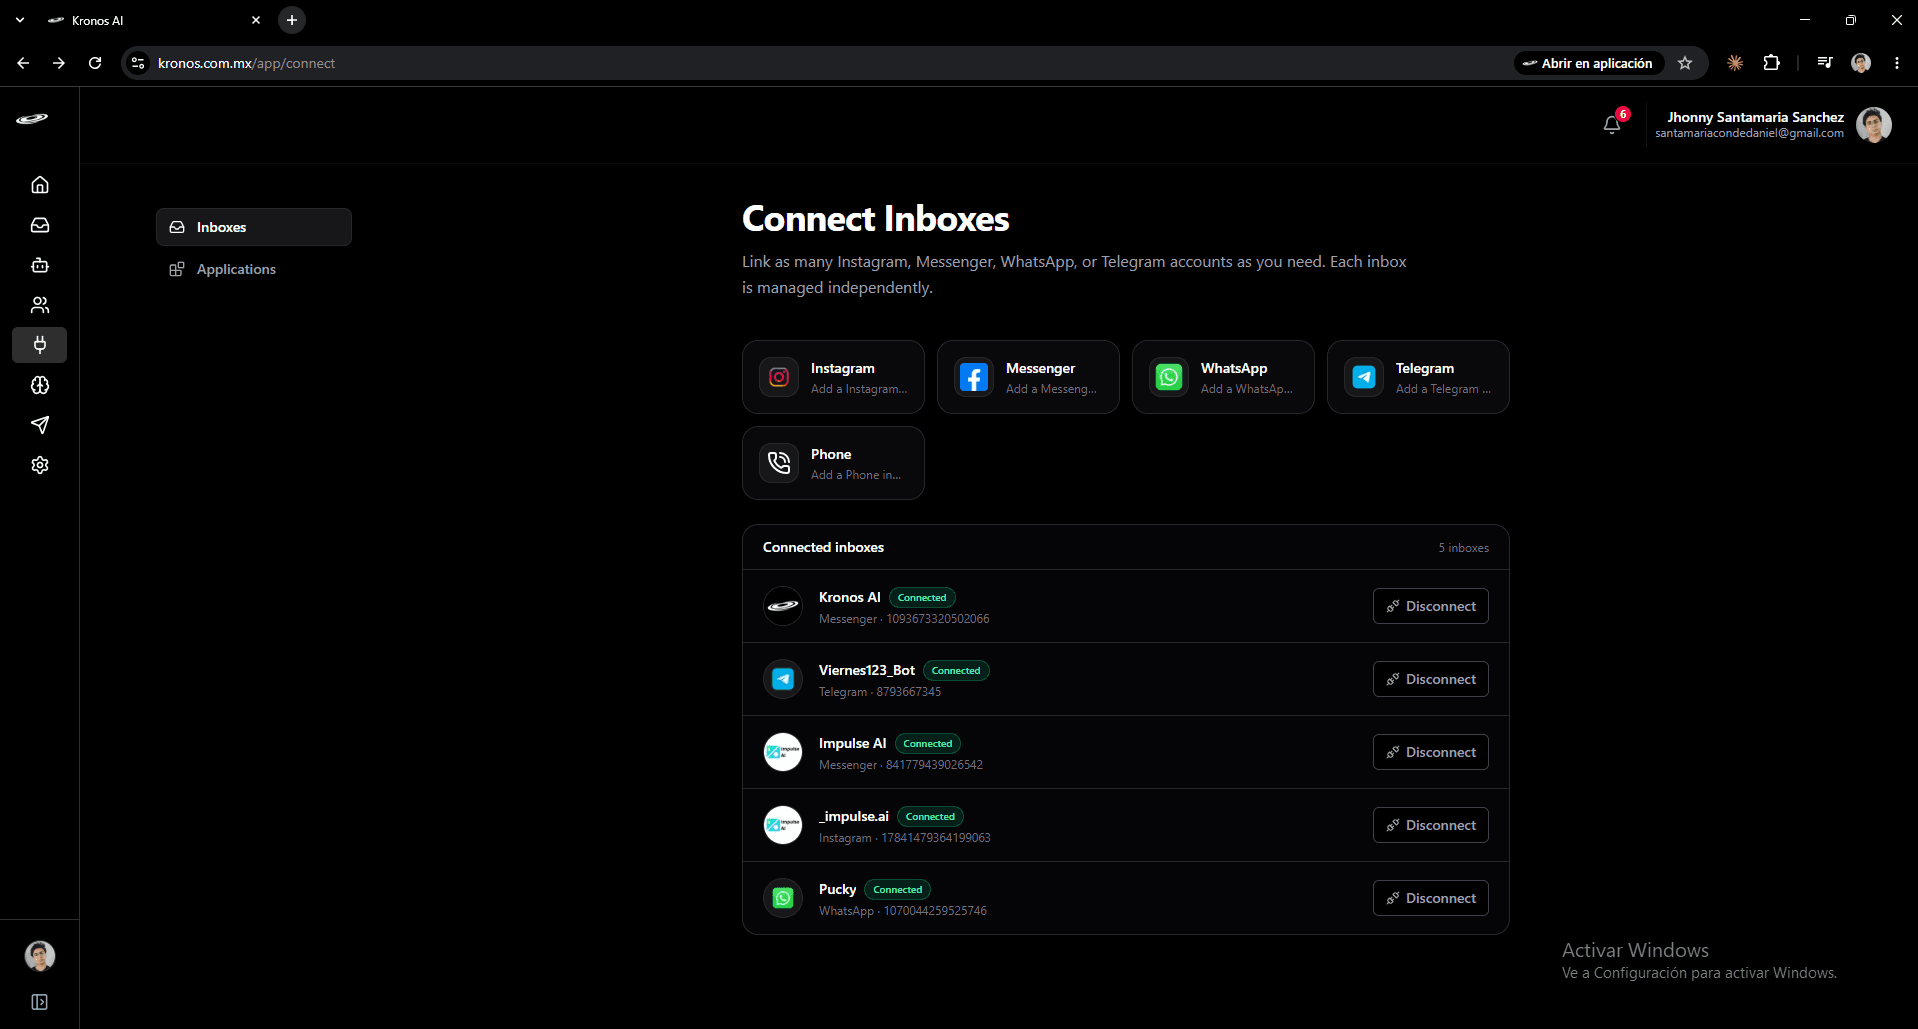
Step 1 — Open Connect and pick Phone
In the app sidebar, go to Connect Inboxes. You'll see the channels you already use plus a Phone tile at the end of the row.
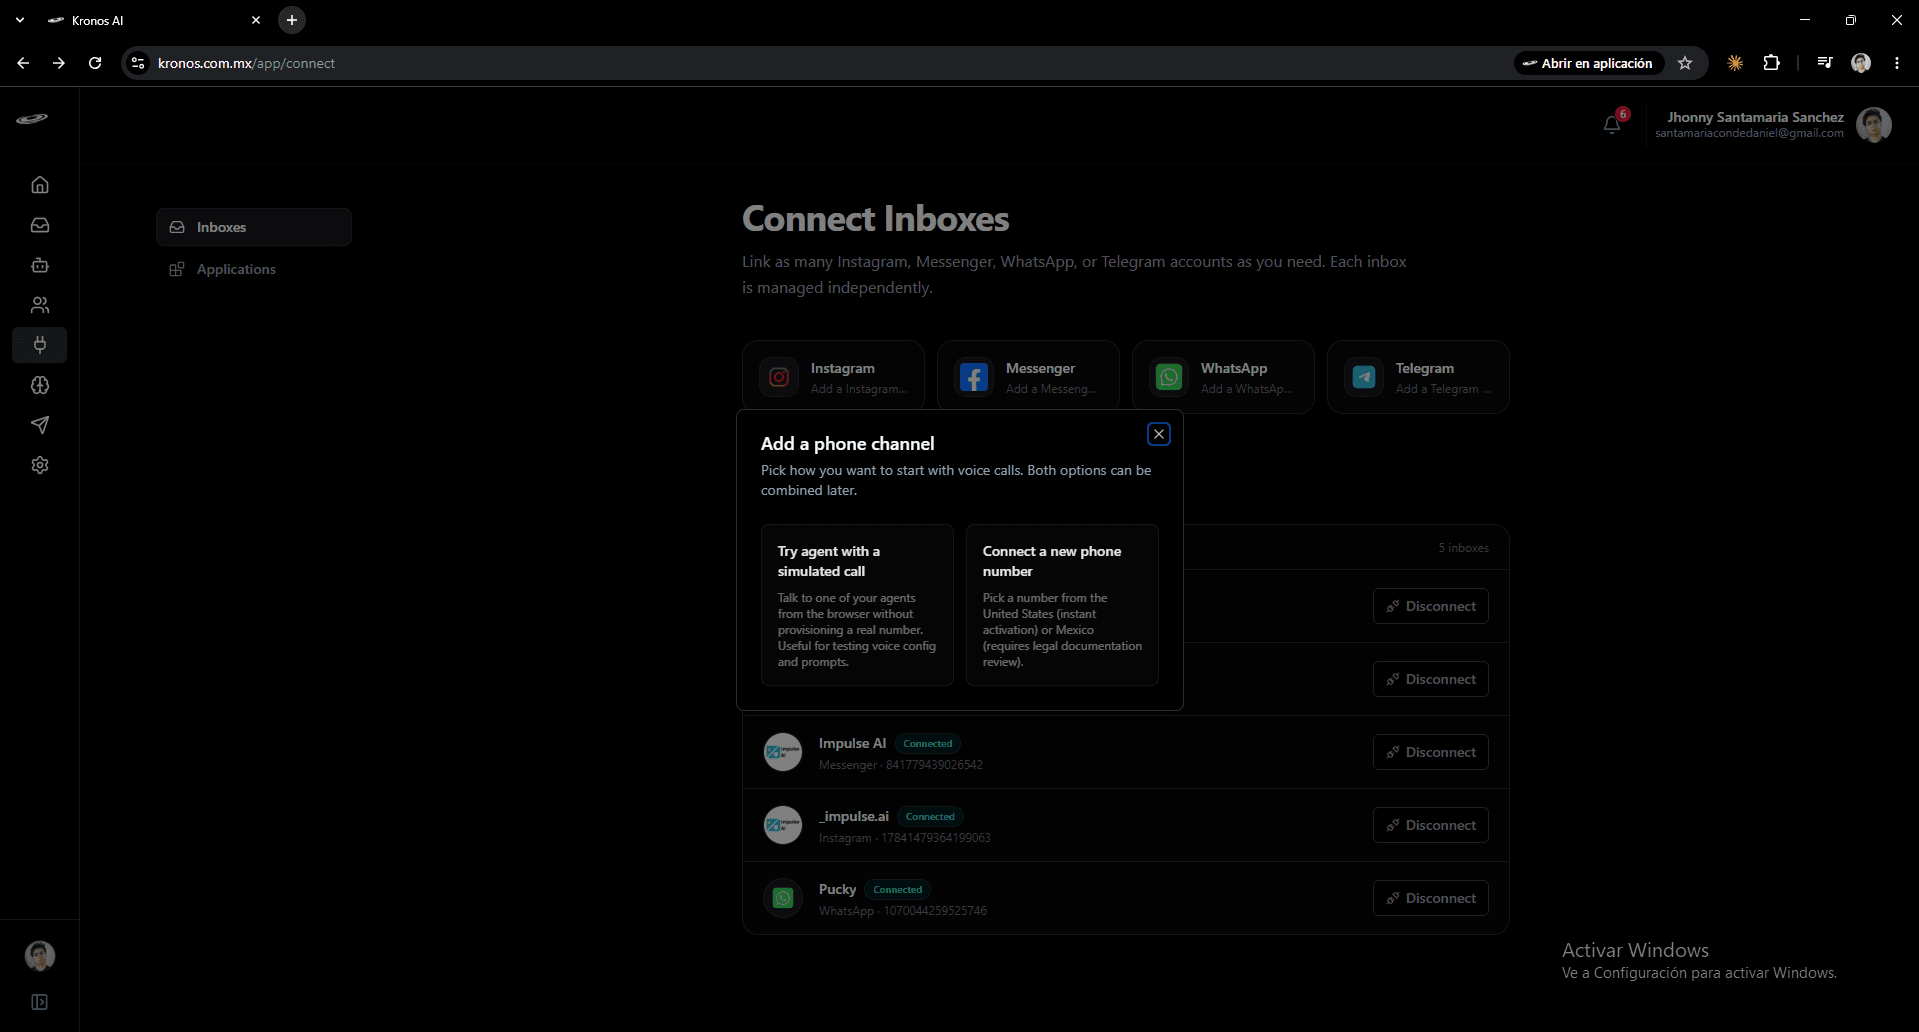
Step 2 — Choose "Connect a new phone number"
A small dialog opens with two cards:
- Try agent with a simulated call — talk to one of your agents in the browser without provisioning a real number. Useful for testing prompts and voice configuration before you commit.
- Connect a new phone number — pick a real number. Instant activation if available in that country; Mexico requires a legal documentation review.
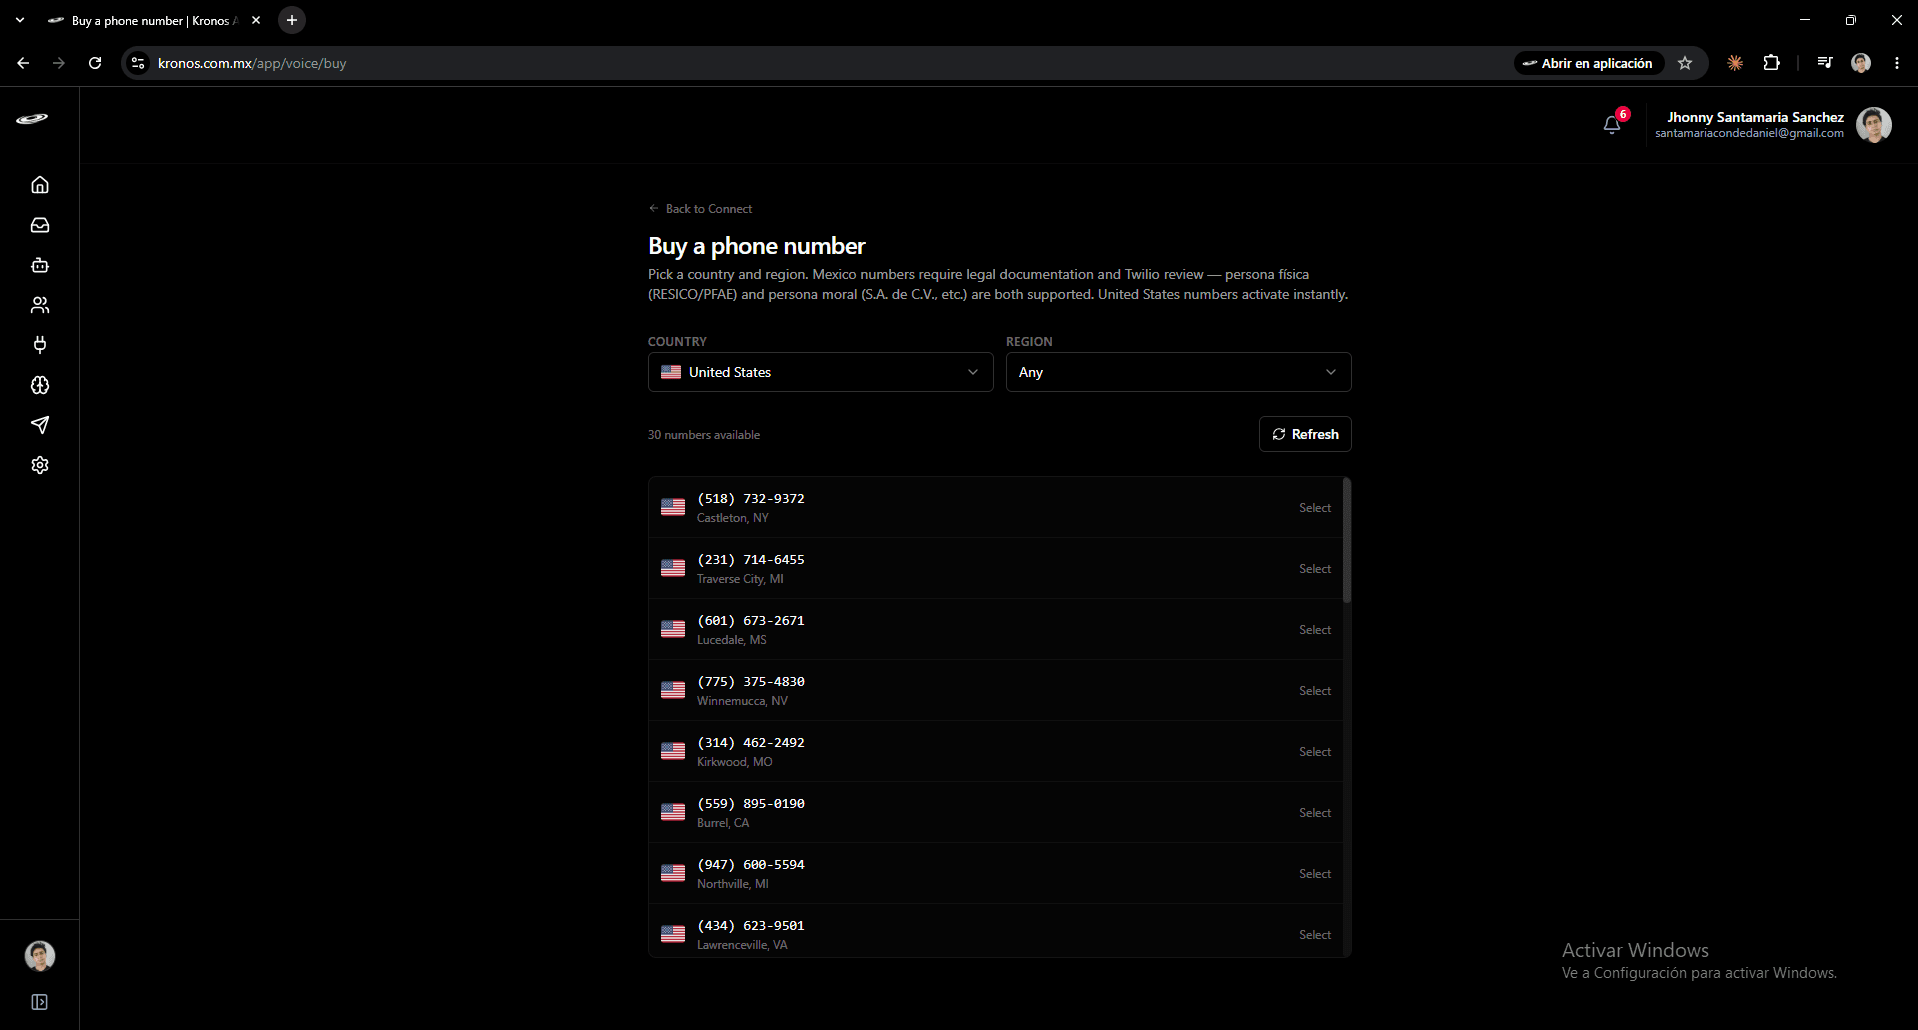
Step 3 — Pick a number
In the Country picker, choose your country. Optionally narrow by region; otherwise leave Any to see numbers from anywhere. The list shows up to 30 available numbers — locality and state appear under each one.
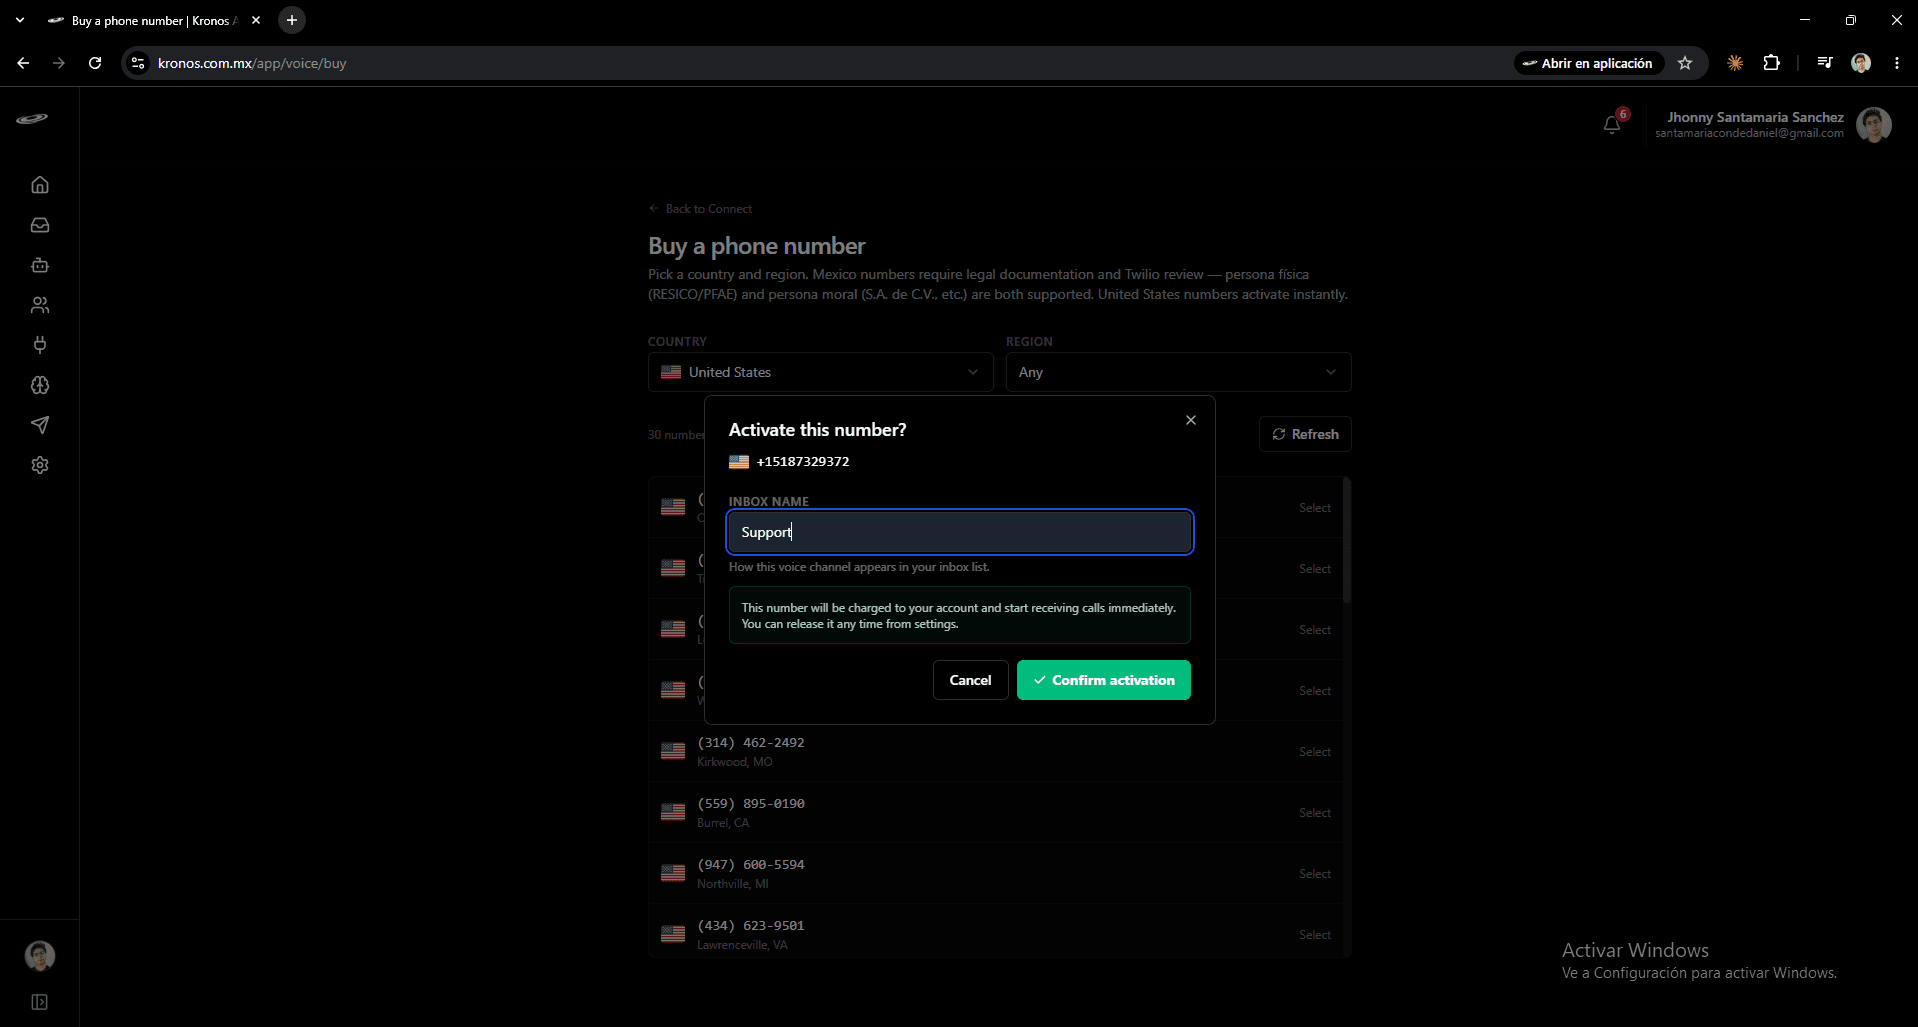
Step 4 — Name the inbox and confirm
A small confirmation appears with the number you picked.
- Inbox name — how this voice channel appears in your inbox list. Use something short and descriptive: "Sales", "Support", "Customer care", etc.
- The green notice below the field warns that the number will be charged to your account and start receiving calls as soon as you confirm. You can release it any time from settings.
Step 5 — Your number is live
That's it. Within seconds you see a confirmation screen with the number that's now ready to receive calls.
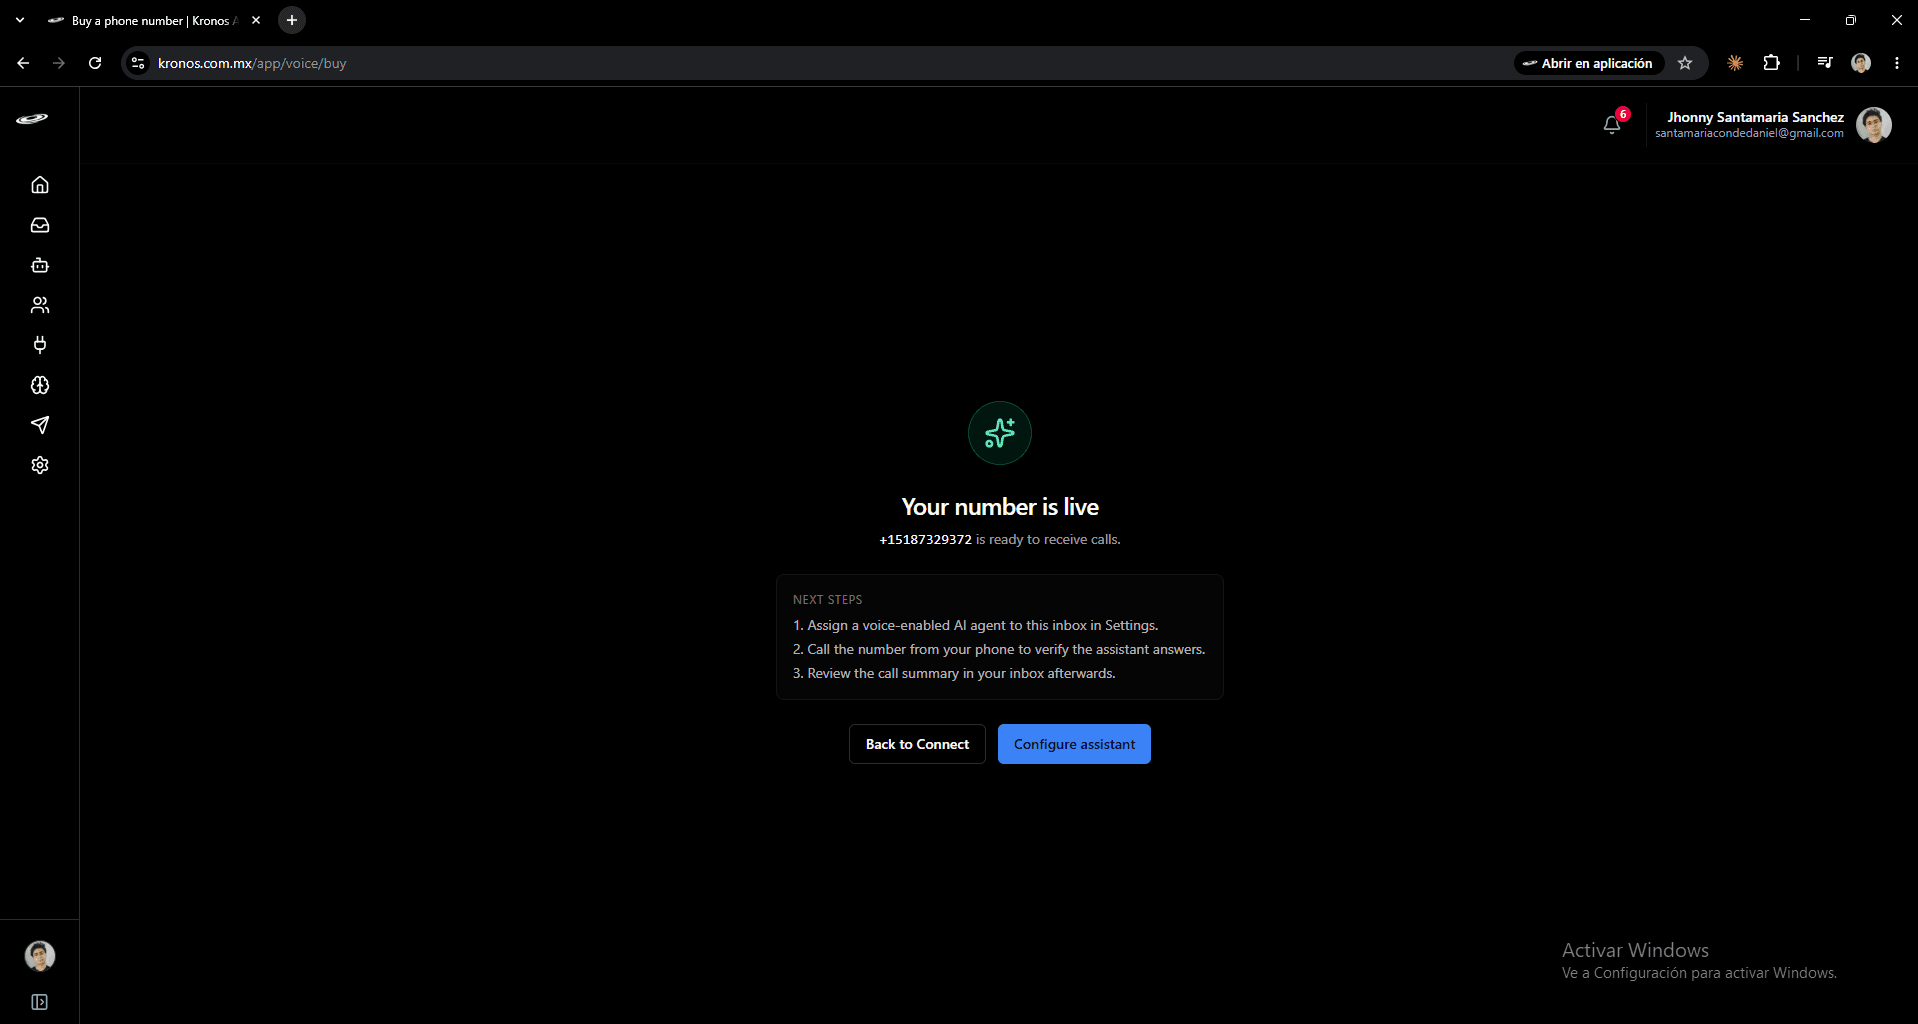
The next steps are listed for you:
- Assign a voice-enabled AI agent to this inbox in Settings.
- Call the number from your phone to verify the assistant answers.
- Review the call summary in your inbox after the call.
A note on the first call
The number is technically active the moment you confirm, but the global routing tables that let other carriers reach it can take up to 30 minutes to refresh, especially for international calls.
If a test call right after activation goes to a "number not available" message without ever ringing, that's almost always carrier-side propagation rather than a problem with the number itself. Wait a few minutes and try again. After that initial window the number works reliably from anywhere.
Releasing the number
Each account can hold one active voice number at a time. To free the slot — for example to move to a different number or region — release the active number from Settings → Inboxes. After release you can start a new activation following the same steps.